One of the most frustrating problems with Evernote Basic is that you can sign into the Evernote application up to only two devices. Here is a workaround that you can follow if you wish to use Evernote on more devices.
When Evernote decided to go Electron, I was under the impression that they need to change to streamline the product development. After all, we didn’t see many breakthroughs with the native application for years because they have different people working on each version of the application: Mac, Windows, iPhone, and Android.
The recent updates put off many existing paid customers. The Evernote web application butchered many features that paid customers used to love. I’ve seen many customers searching for Evernote replacement because of the device limitation. I’ve canceled Evernote Premium temporarily because I don’t feel the pricing justify for the features they offer.
As someone who owns iPhone and iPad, it’s easy to hit the limit early. I mostly spend my time working with MacBook Pro and iMac 27”, so I want to run Evernote as a separate application on these devices.
Fortunately, I’ve found a way to turn the Evernote website into a full-fledged application running on macOS.
Building Evernote Desktop with Nativefier
Since Evernote is built with Electron. There is no significant difference using Evernote on the website, desktop, or mobile devices. It also means that using Evernote with a browser doesn’t count towards your device limit.
All we have to do is to package the Evernote website into a native application that you can run as a separate entity from the desktop browsers. We’re going to use Nativefier in this tutorial.
If you haven’t installed Node.js, you will have to install it first on your machine. Check out this tutorial to set up a web development environment correctly. Make sure you install the following tools:
- Xcode Command Line Tools
- Homebrew
- Node.js
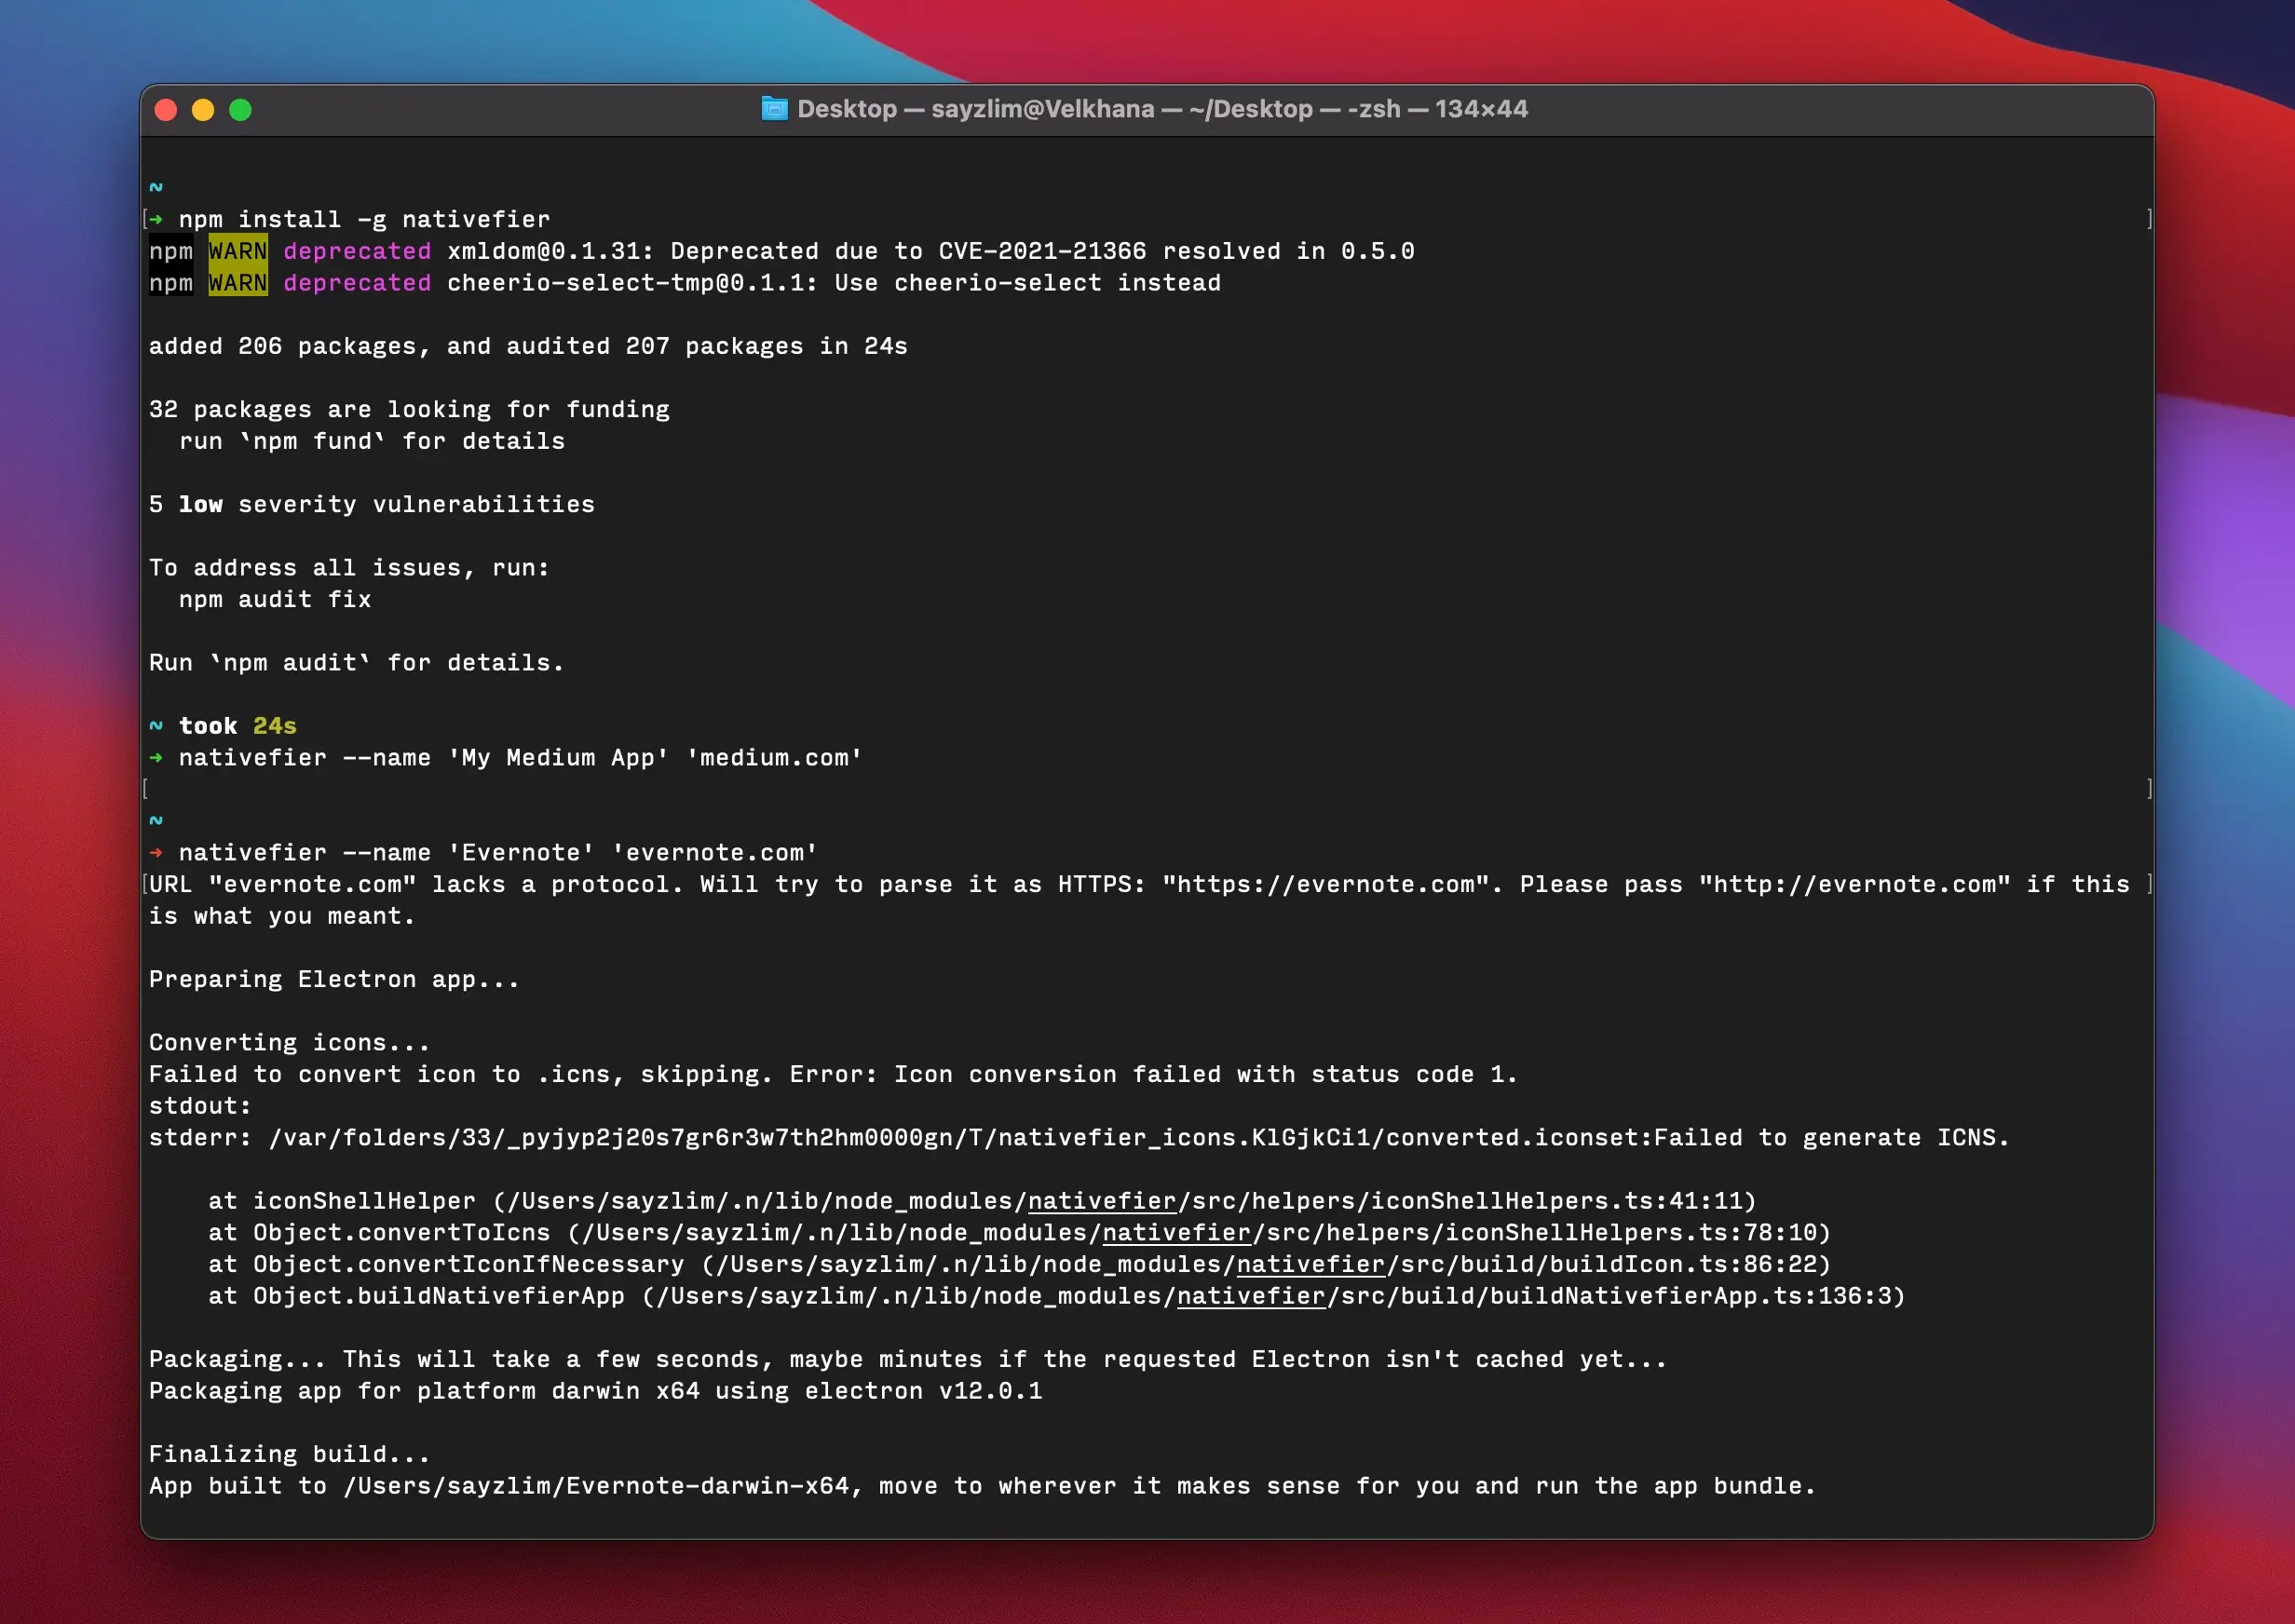
Restart Terminal and switch to the latest version of Node.js. Copy and paste the following command into Terminal to install Nativefier.
npm install -g nativefier
It may take a few minutes for the installation to complete. Once nativefier is installed, you can run the following command to create a native Evernote application from their official website.
cd ~/Desktop && nativefier --name 'Evernote' 'evernote.com'
The command above will create a folder containing the Evernote application built with Electron on the desktop. Move only Evernote.app into the Applications folder. You can delete the rest of the files in the folder.
Replacing Evernote Icon
Pay attention that the Evernote application we built with Nativefier has Electron logo as the icon. This is expected because we didn’t pass any image into the command line when creating the application.
Here’s how you can update the Evernote icon you’ve just created:
- Download your favorite Evernote icon from macOSicons by Elias.
- Right-click on the Evernote.app — located inside the Applications folder — and select “Get Info” from the contextual menu to display the info window.
- Drag the downloaded icon to the top of the Evernote.app icon inside the info window.
You can open the Evernote application and sign in with your credentials. Now, Enjoy the native web version of Evernote without hitting the device limit set.

