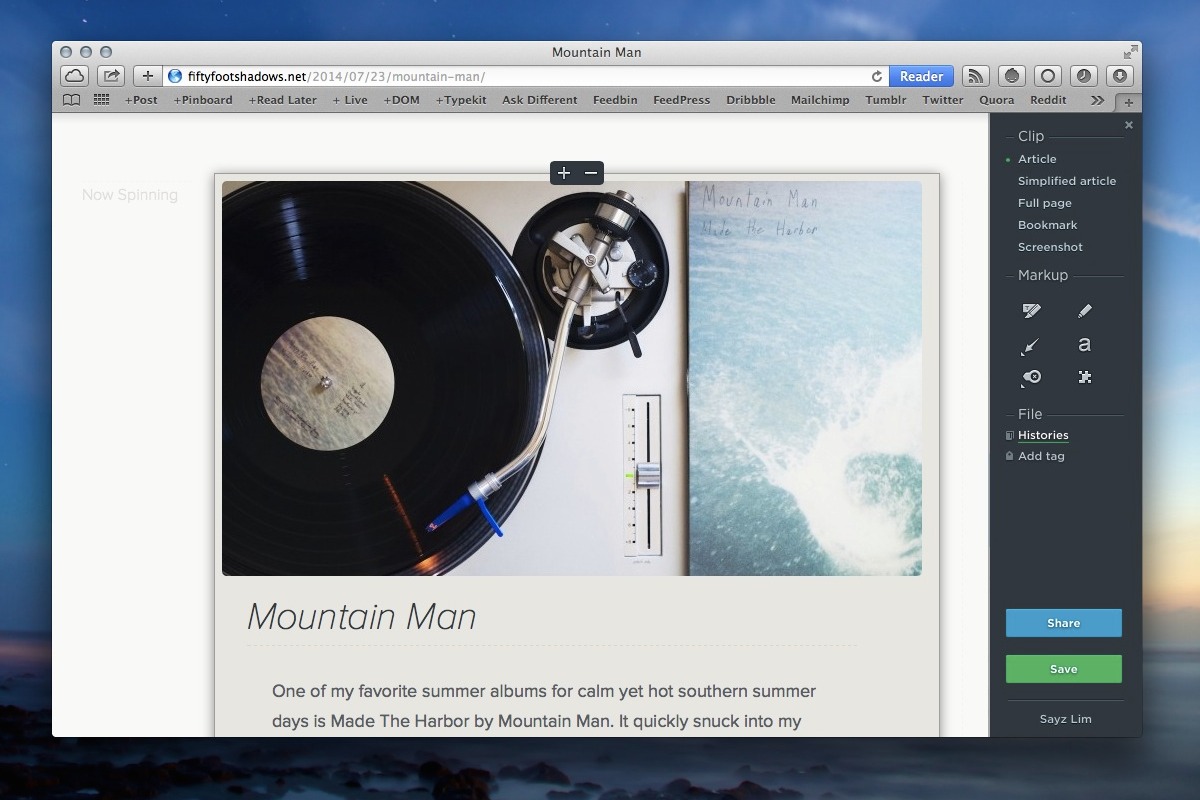
You’re browsing the web every day and sometimes you discover words, images, or websites that are worth saving. That’s why it’s important to have the tool be ready all the time. Today I would like to talk about this tool: Evernote Web Clipper.
Evernote Web Clipper is an official extension to save the web content directly to Evernote. It’s packed with the features you need to create a perfect and informative notes without third party apps. From highlighting the text within web page, taking screenshot, and saving images to Evernote. You can do them all inside Safari and Chrome.
Evernote has written a comprehensive guide of using Evernote Web Clipper on their website, so I’ll only talk about the way I use this extension and a short introduction to each type of notes.
Using Evernote Web Clipper
There are five type of notes you can save with Evernote Web Clipper, and the nature of each note varies depending the information you want to save.
1. Article is a note created from a section in a web page. When you choose this format, it only highlights the main content. If it’s a blog post, it highlights the content area. If it’s a forum threads, it highlights the discussion area. If you’ve highlighted a block of text before calling for this extension, well, the text will be saved into the note.
You’re not limited to the highlighted section determined by the extension. For example, instead of the main content section, you can choose to save only the sidebar section. Perhaps you only want to save main content and sidebar. You can do it with the built-in shortcuts — expand or shrink the highlighted area by pressing the ↑ or ↓ key, and move between section by pressing ← or → key.
2. Simplified Article is the best choice when it comes to cleaning the web page with poor typography, or just filled with ugly ads. This’ll make sure that the saved note is readable even if the web page looks like a wrecked ship.
3. Full page is the type of note you choose if you want to save the whole page as it’s seen. I don’t use this one because I save the web full page with Ember.
4. Bookmark. I like the idea of keeping bookmarks in Evernote. It has the main features you need to organize bookmarks — tags, syncs, and searches. I personally use Pinboard for bookmarks, but if you prefer to store everything in Evernote, just create a new notebook called Bookmarks for this type of note.
5. Screenshot captures the whole page as an image. Edit the image before sending it to Evernote: leave notes, draw arrows, highlight and pixelate certain area, and crop the captured image. You can send the annotated notes to your colleague via email with this extension or leave them in the notebook called Screenshots.
Configuring Options & Shortcuts
It’s difficult to find the options, but you can access it by clicking on your name in the clipper’s sidebar. I make a few changes, especially the shortcuts to switch between type of notes, because some of the default shortcuts are difficult to remember. You can view my shortcuts in the following screenshot.
For Simplified article I use d that stands for declutter. As for the Screenshot, I use h because it’s the only item with letter “h” in the list.
Conclusion
Evernote Web Clipper is one of my most used extension in Safari. I use it mostly to save the highlights of the writing I read. Here is another useful tip: right click an image and send it to Evernote — useful when the highlight of a writing is in the image.


