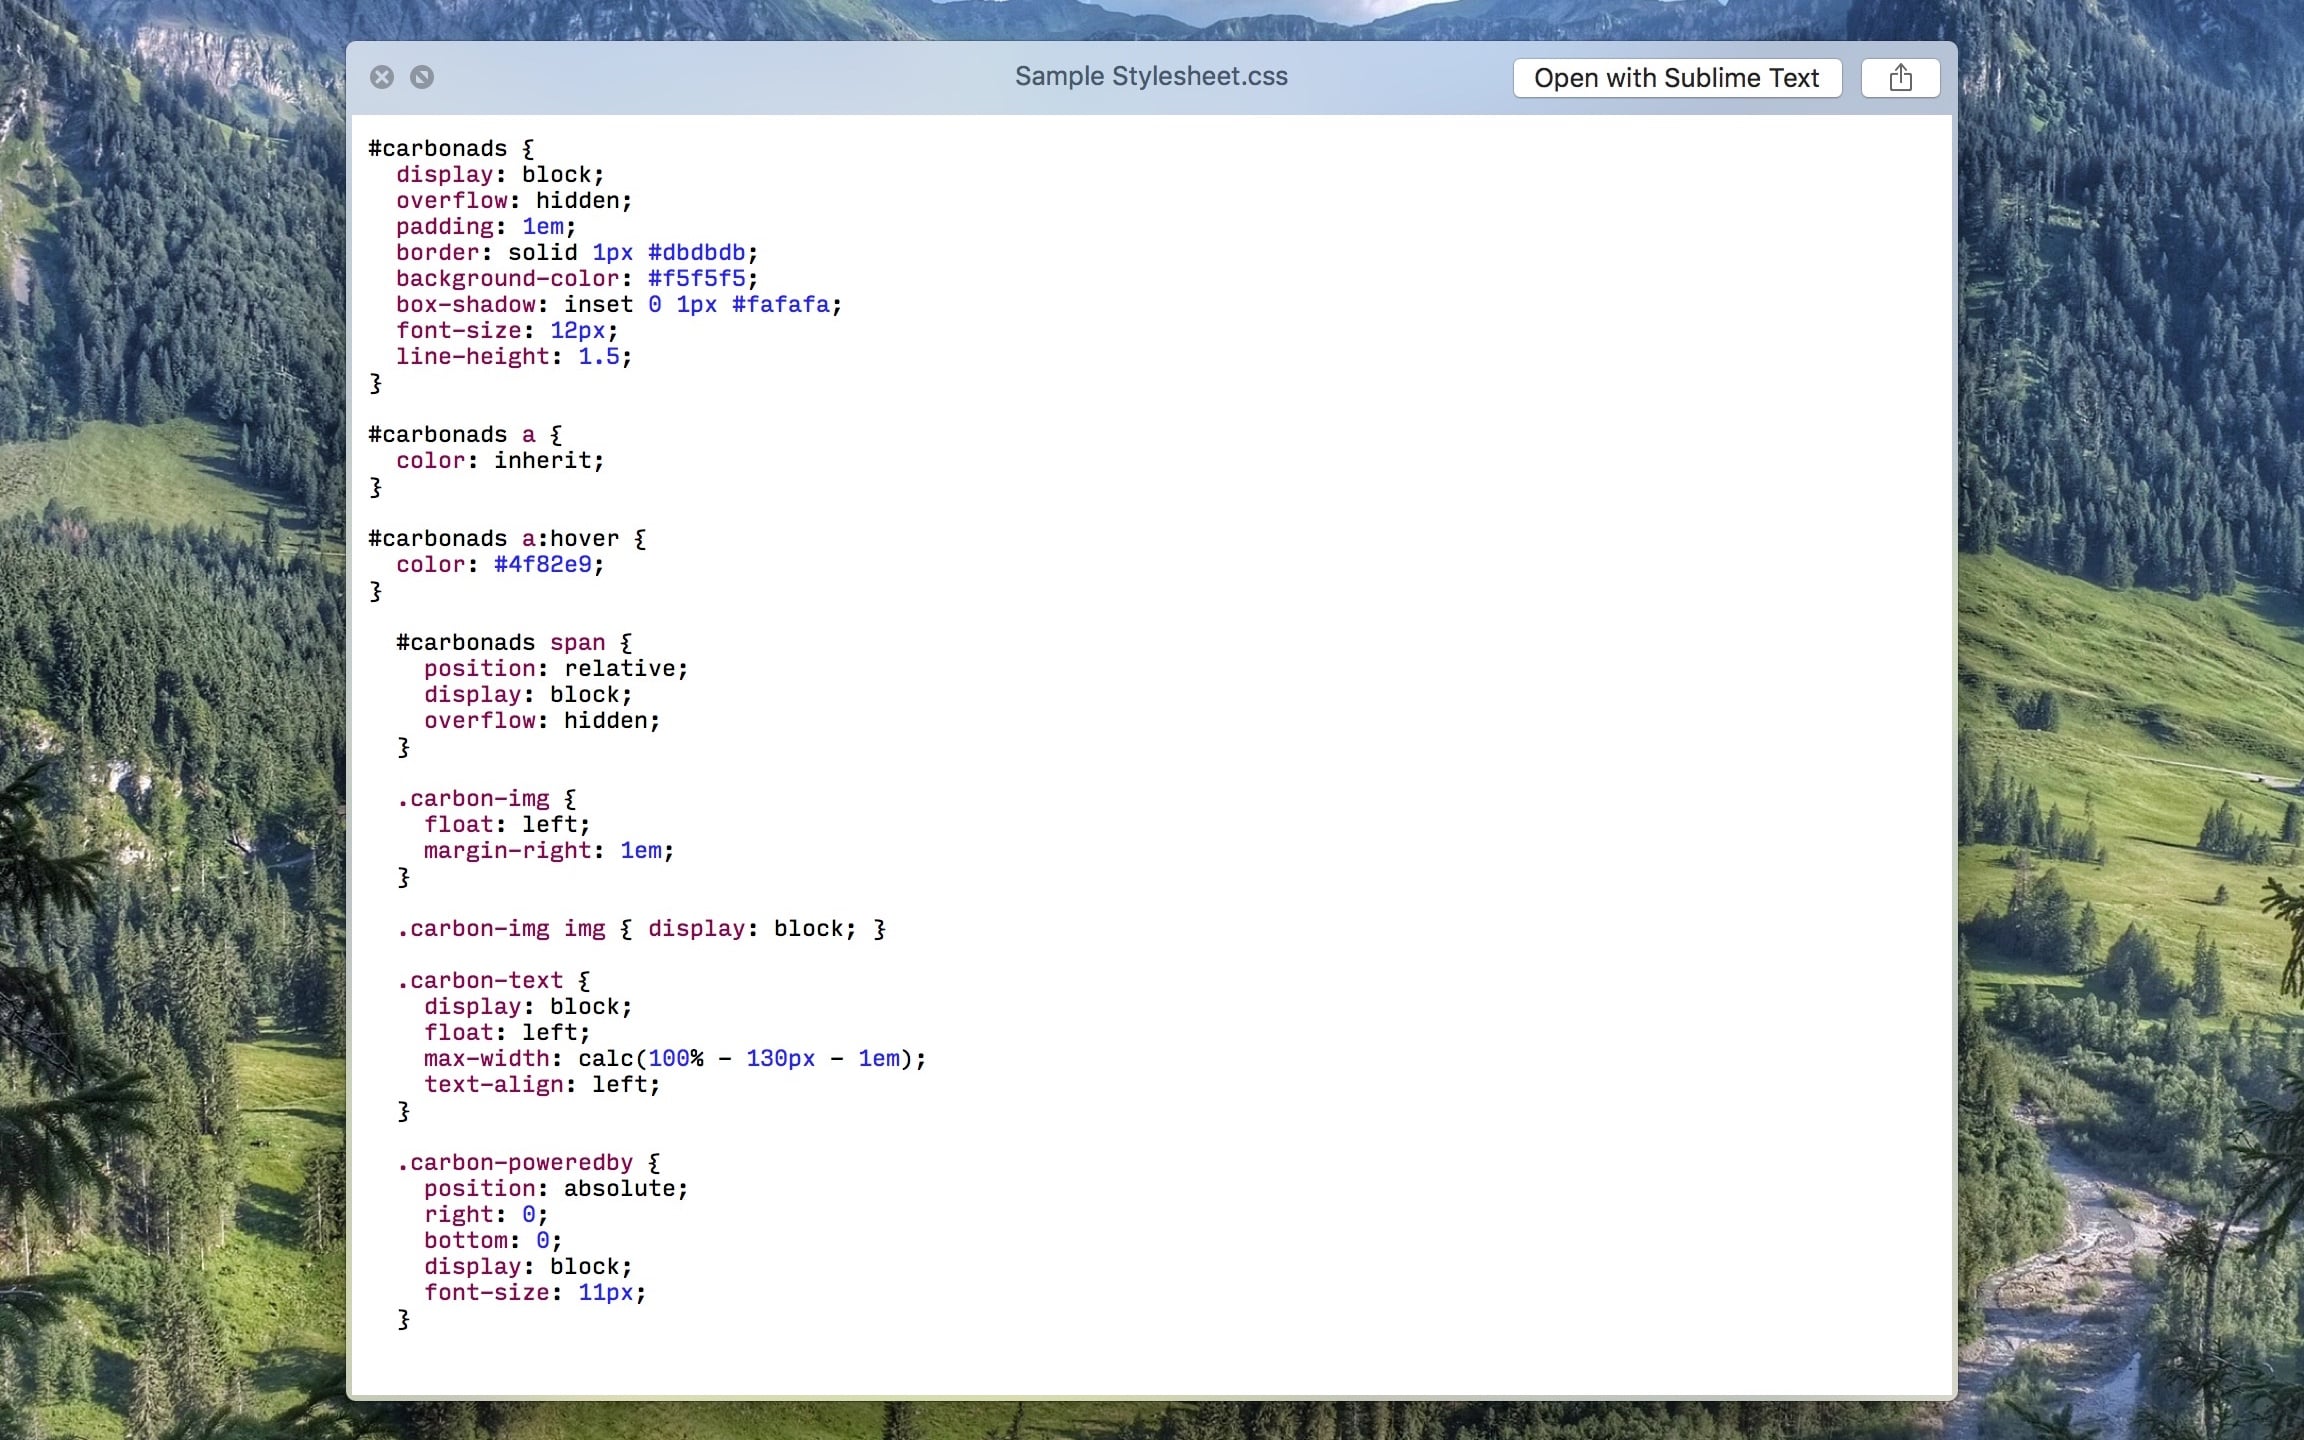
Quick Look is a simple and notable feature that got me interested in switching from Windows to OS X (or MacOS). With a gentle press of Space key, I can preview the file contents without having to launch a separate app. Today I would like to share some of my favorites plugins that you can install to extend its functionalities.
Quick Look plugins are stored in ~/Library/QuickLook or /Library/QuickLook. The main difference between these two file paths lies in the use of tilde symbol or ~.1 It can be confusing for people who are new to MacOS when they face installation instructions that involve the symbol, and it’s important to learn the difference: the tilde symbol represents home directory for current user.
Understanding the difference can help you decide where you want to install Quick Look plugins.
If you want the Quick Look plugins available for every account on your Mac, you want to install it in the root folder or /Library/QuickLook. If you prefer to enable the plugins only for yourself, you want to save them into the home folder or ~/Library/QuickLook.
Quick Look plugins are folders with qlgenerator as the file extension. You can view the plugin contents by right-clicking the file and choose Show Package Contents. Most of the time, the plugin come with a stylesheet which you can edit to customize the look of the rendered Quick Look result.
QuickLookCSV
A CSV (Comma Separated Values) file is a popular file format for people who work with spreadsheets. What I like from this file format is that you can create it with any text editors and open it from any applications because it’s just a plain text document.
If you use QuickLook on the CSV files without QuickLookCSV, you will see a chunk of text separated by commas. It’s difficult to process the information because they’re not aligned. As the result, you’re forced to open the CSV files in a spreadsheet program like Excel or Numbers.
QuickLookCSV will render the CSV files in a spreadsheet-like manner so you can avoid opening it in a spreadsheet program.
There are two versions you can download. The original version uses Lucida Grande as the font-family and light-grey as the alternate row color. The modified version uses Input Mono and light-blue as the alternate row color.
Download: Modified Version
QLColorCode
You don’t have to be a programmer to reap the benefits of the QLColorCode. This plugin lets you view the source code with each syntax correctly colored to match its functions. It’s much more efficient compared to open them in text editors like Sublime Text.
There are some commands that you can run to customize the plugin. I recommend Input Mono as the primary font for QLColorCode, and also set the font-size to 8. You can enter the following commands to change the settings.
## Setting the font (default is `Menlo`):
defaults write org.n8gray.QLColorCode font "Input Mono"

## Setting the font size (default is `10`):
defaults write org.n8gray.QLColorCode fontSizePoints 8
MultiMarkdown QuickLook
MultiMarkdown adds additional syntax like tables, footnotes, and citations on top of the original Markdown syntax. There are few MultiMarkdown plugins available, but my choice is the one made by Brett Terpstra. The decisive feature is that you can use a custom stylesheet by placing it in the home directory.
You can create the custom stylesheet by entering the following command in the Terminal.
touch ~/.mdqlstyle.css
The .mdqlstyle.css can be found in the Home directory. It’s hidden because of the dot prefix, but you can display hidden files in Finder by entering the following command in Terminal.
## Show Hidden Files
defaults write com.apple.finder AppleShowAllFiles TRUE

## Hide Hidden Files
defaults write com.apple.finder AppleShowAllFiles FALSE
Open the file with any text editor and paste the MultiMarkdown templates you can download online.
I choose GitHub style as my preferred MultiMarkdown template. You can also download my custom stylesheet and move the .mdqlstyle.css to your home directory.
Download MultiMarkdown Quick Look with Style
QLImageSize
My favorite shortcut to inspect files is Command + Option + I which fires up an Inspector in Finder. It’s useful when you have to check many files information one by one because it updates every time you switch to another file.
Sometimes I only need to check a single image dimension. Using Get Info command requires me to switch to Finder, which I believe can kill the efficiency. With QLImageSize, I can search in Alfred and press Shift to preview the image, identify its dimension, and figure out the file size.
Noteworthy Mentions
There are others Quick Look plugins you should check out like BetterZipQL, QuickLookJSON, and QLStephen. I recommend that you visit the curated Quick Look repository to learn more about those plugins.
Most of the current shortcuts and symbols happened to be caused by the keyboard layout in the past. ↩


