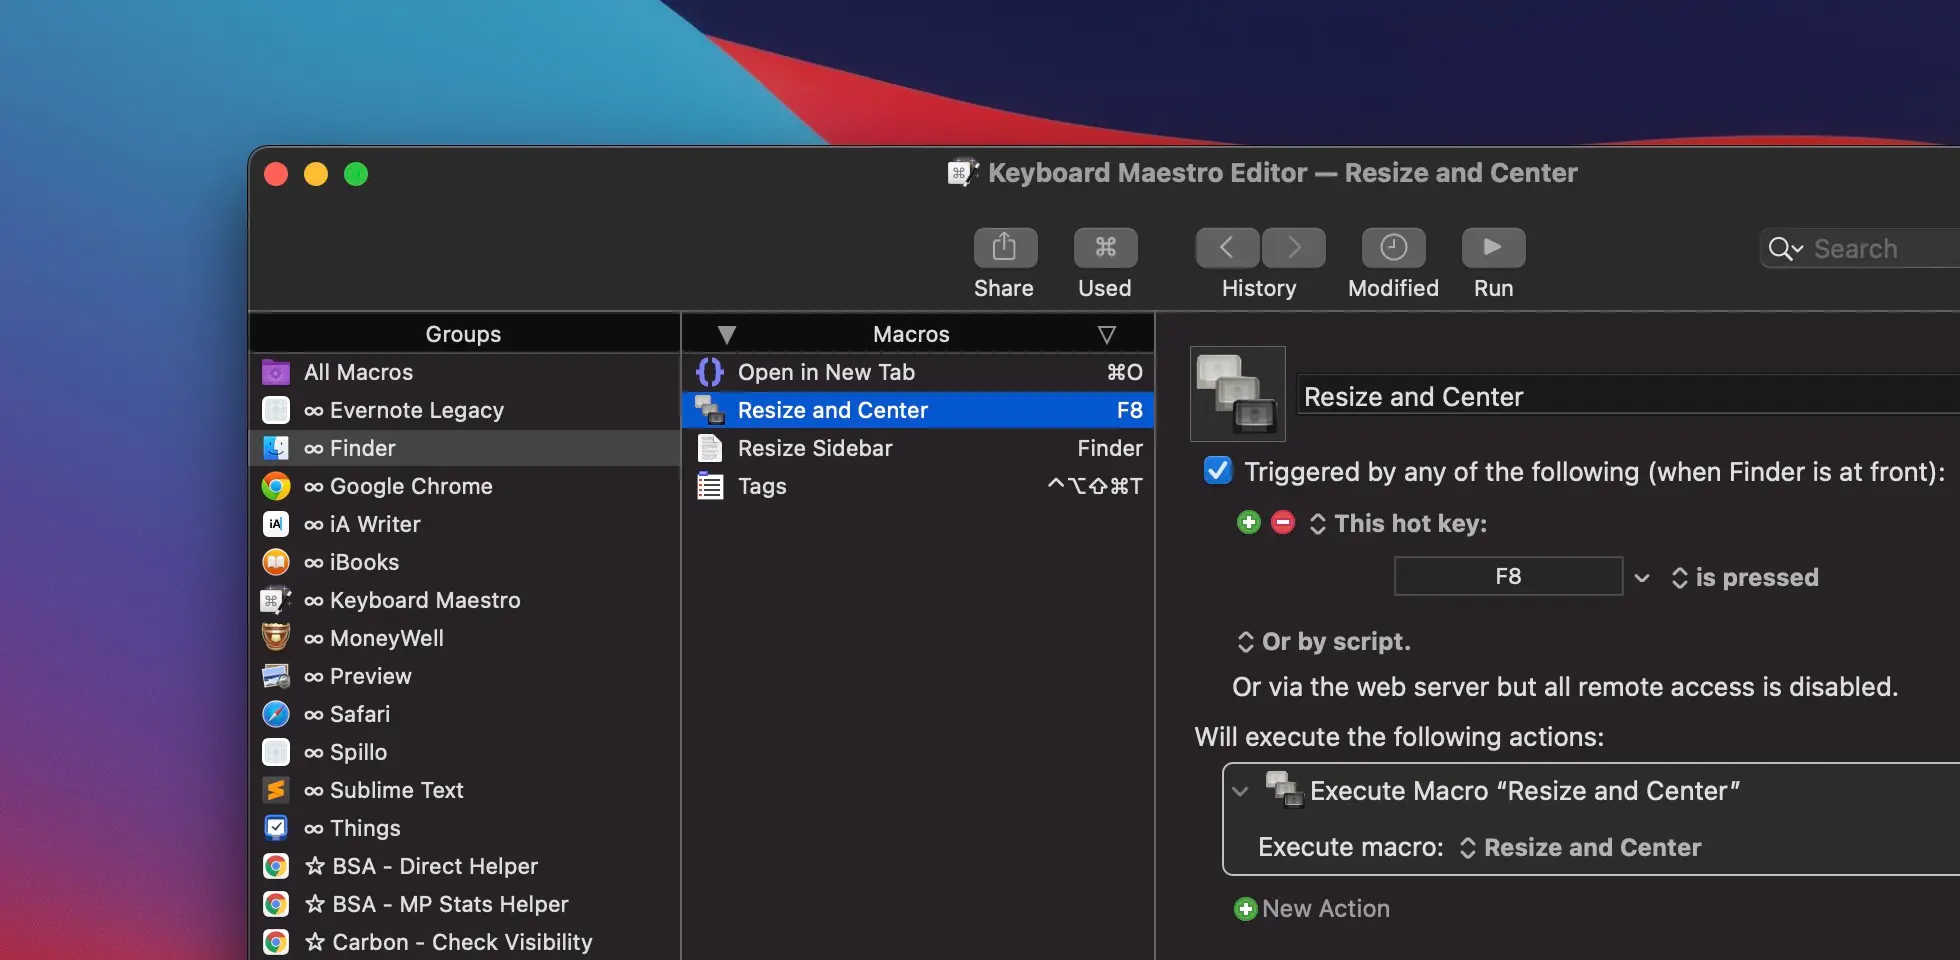
Resizing application windows is one of the easiest macros you can create with Keyboard Maestro. By implementing a single action, you can set a default window size for every application on your Mac. What if I tell you that there is a better way to organize and resize application windows?
With MacBook Pro, I often use the full-screen mode to take advantage of all the available screen states. After switching to iMac 27” as my main machine, I find that it requires more effort to organize the windows.
Rather than always viewing the application in full-screen mode, I set a default window size for each different group. I put the browser’s default window size (1440, 1000). Some of the productivity applications like Things and Finder are set to (960, 700).
The idea to build this macro came up when I was cleaning my Keyboard Maestro library. I found out that the “Resize and Center” macro I created a long time ago was very inefficient.
The “Old” Resize and Center Macro
The “Resize and Center” macro, available in the Global UI Control macro group, has only one task: to set the front window size to width to 1440 and height to 1000.
I have my reason to save the macro in the Global UI Control instead of creating a separate macro group for each application. It’s related to how I organize my macro groups.
Instead of assigning a global shortcut to the macro, I have to create a new macro group to selectively choose which applications to trigger the macro. For example, I can create a macro group called “Finder” and put an action to execute the “Resize and Center” macro in the group. The advantage of this approach is I can set a different type of trigger for each application, such as resizing the window whenever the application activates
There are some problems with this approach:
- I have to create a new macro group for each application that uses the “Resize and Center” macro.
- I have to create a new “Resize and Center” for each different default window size.
- Using the “Trigger Macro by Name” action will show many duplicates of the “Resize and Center” macro.
The “New” Resize and Center Macro
Keyboard Maestro lets you pass parameters when executing a macro. By tweaking the “Resize and Center” macro, I can tell the new macro to accept width and height as the parameters to resize the window size dynamically.
The macro is pretty straightforward. It accepts two parameters separated by a comma for width and height. You can access the parameter’s value respectively with %TriggerValue[1]% and %TriggerValue[2]% and save them as local variables.
You can prepend Local to the variable to prevent Keyboard Maestro from making the variable available globally for other macros. It’s one way to avoid clutter in the “variables” section under the preferences pane.
The remaining action is centering the front application window. I adjusted the vertical position to take into the menu bar height. Now, the “Resize and Center” macro can accept (height, width) as the parameter.
Click on the gear icon on the top right Execute Macro action to toggle With Parameter input fields.
Setting Multiple Default Sizes with Switch Case
Inside the “Global UI Control” macro group, I create a new macro called “Default Window Size”. I prefer to set F8 as the hot key to trigger this macro and set the front window application to the default size. You can change it to your preferred shortcut.
The macro uses a Switch/Case Action to control the flow of the actions. It checks the front window application name — accessed through %Application%1% — by matching the regular expression through the term “Matches”.
Each application name is separated by a pipe for alternation. You can learn more about regular expressions in this post.
The new macro offers much more versatility. I can easily set the default size for a new application by adding the application name into the matching expression. If I want to create a new default size, I just have to add another matching case in the control flow. If I want to change the window size, I just have to update the passing parameter value.


